21 Feb Old Glory Bottle Cap Flag Art in Progress: February 12-21
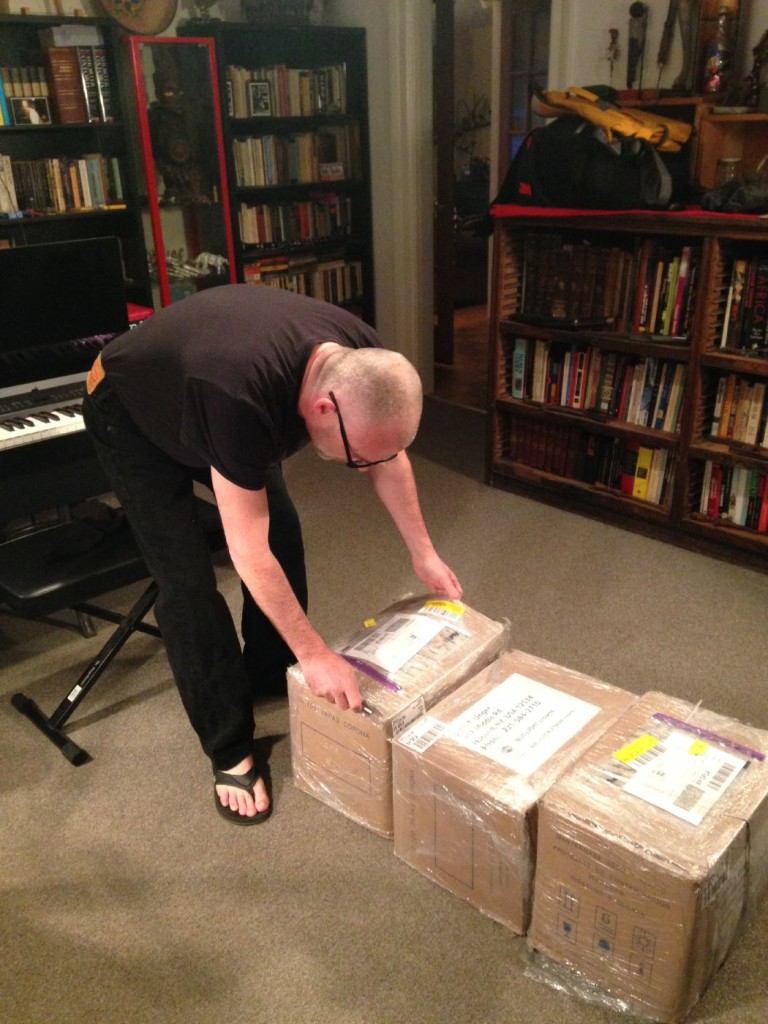
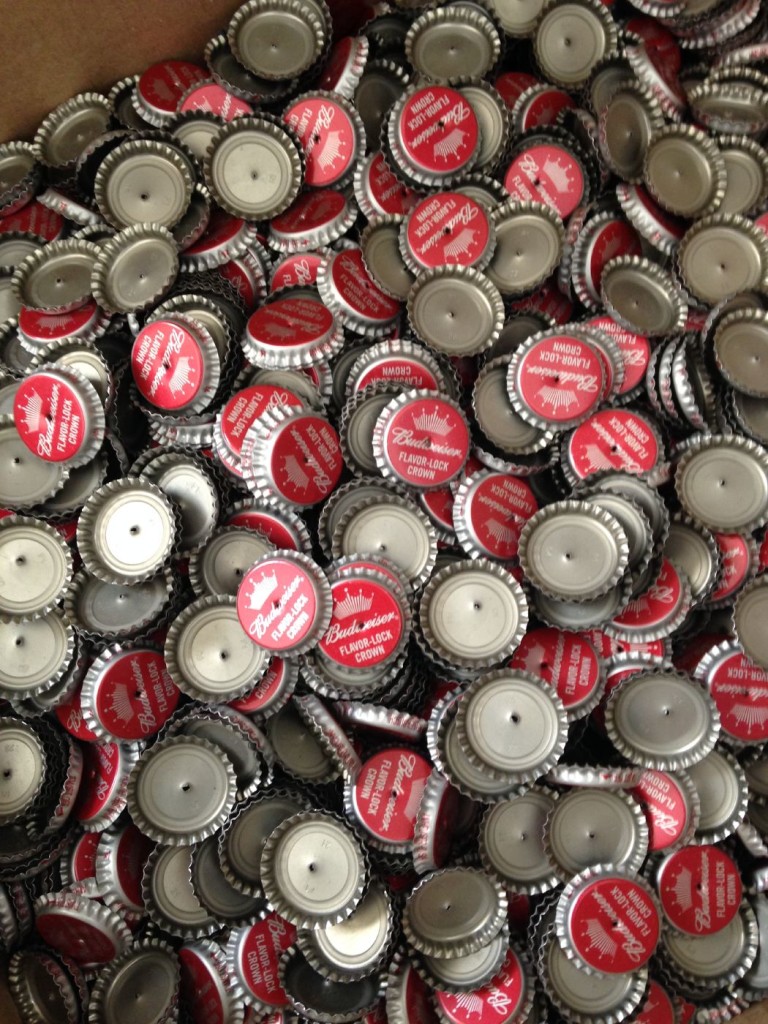
This is how 28,000 bottle caps arrived. The three boxes weighed 131.62 pounds altogether. I had no idea quite what to expect but rather thought the boxes might be a lot larger. It was fortunate that Budweiser donated the caps because there’s no way I could have collected enough of them to do a project this large in such a short time frame.
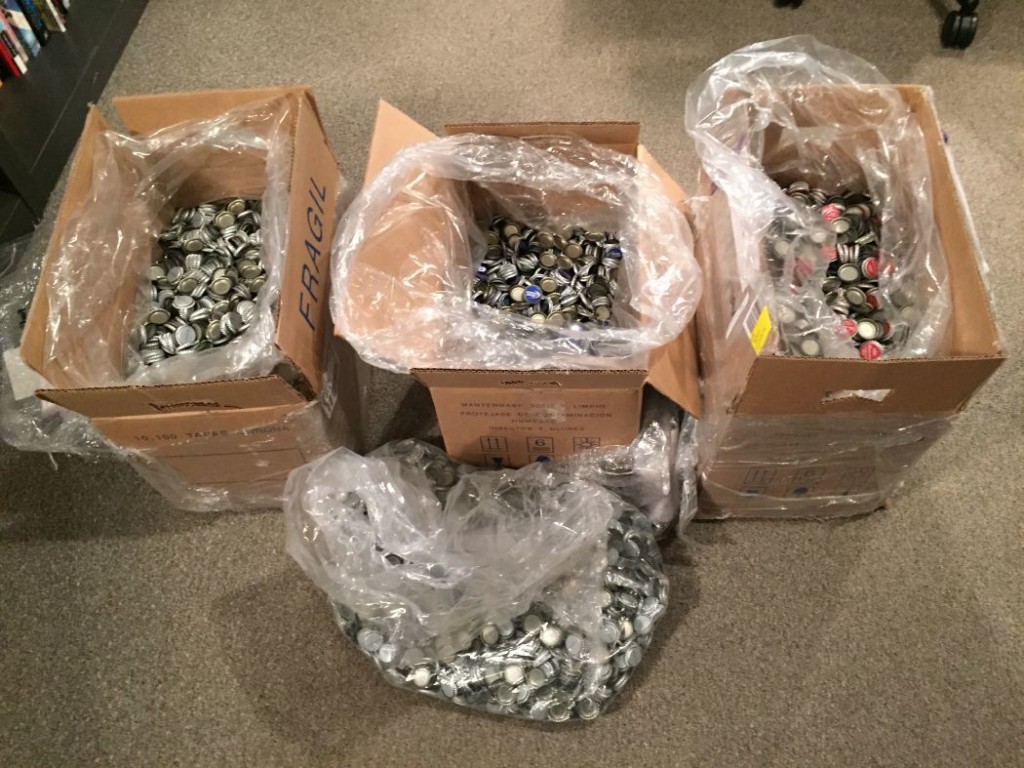
And here is what the boxes look like open. 13,000 crowns of Bud Light Platinum, 10,000 crowns of Budweiser and 5,000 crows of Bud Light.
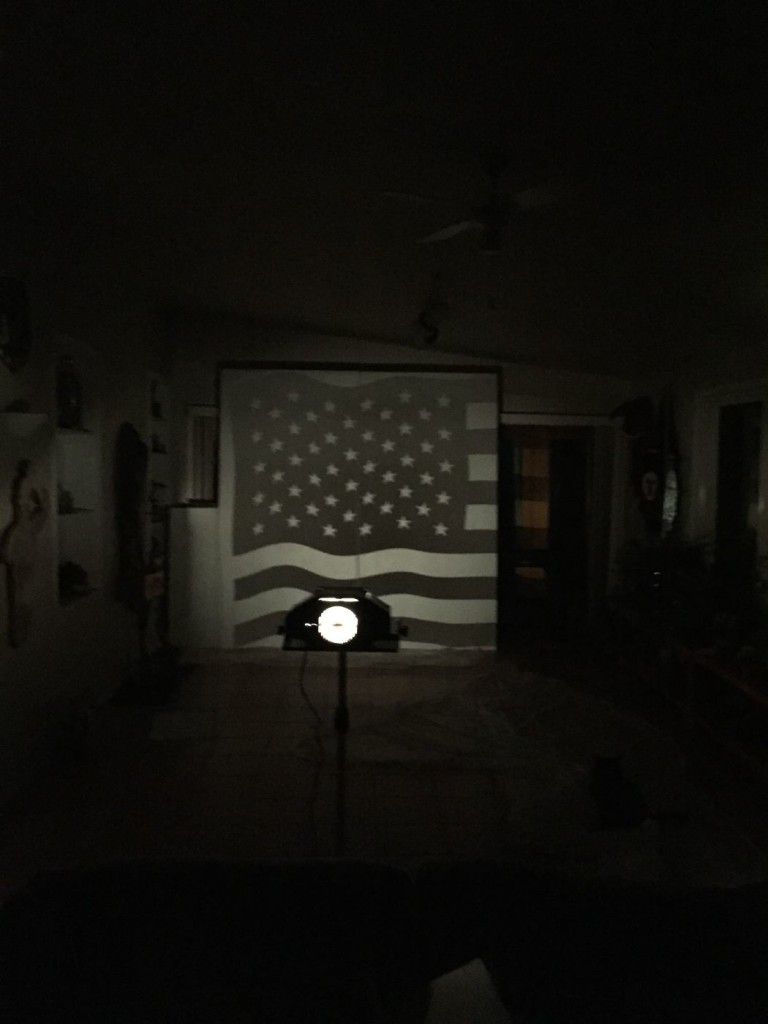
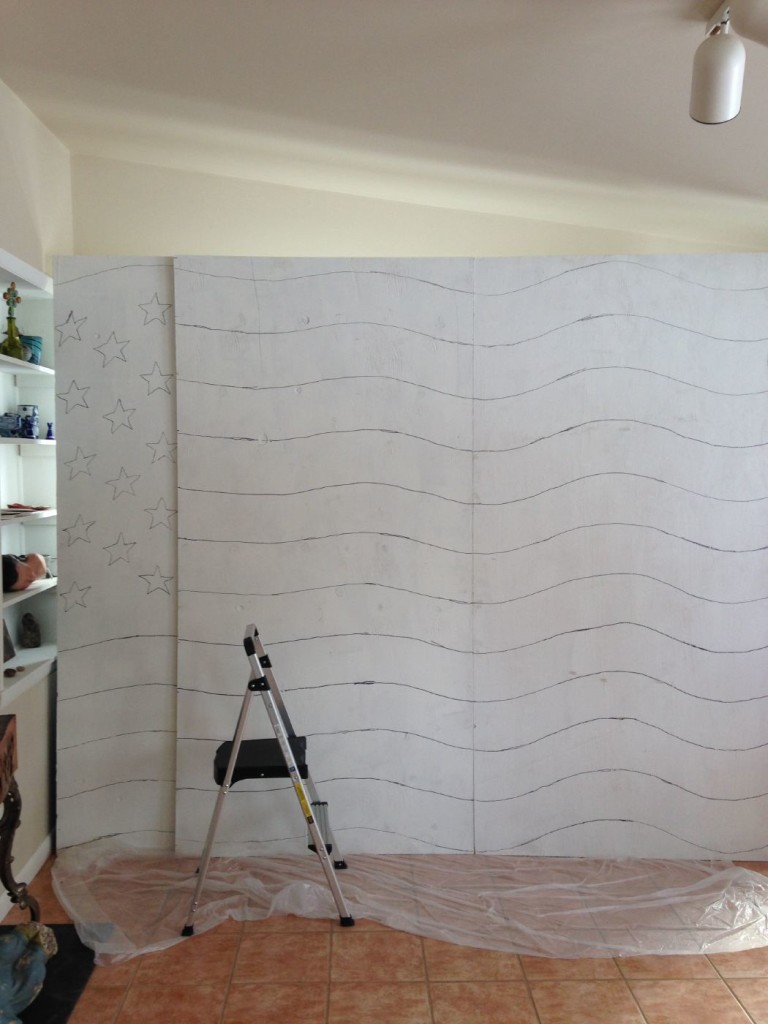
Projecting the source art onto plywood to sketch out the design in Sharpie.
If you look really closely, you’ll see that two stripes fell on the floor but are nearly invisible in the dark (the projector only works in a dark room). I counted the stars to be sure I had the right number but I failed to count the stripes. That will come back to haunt me.
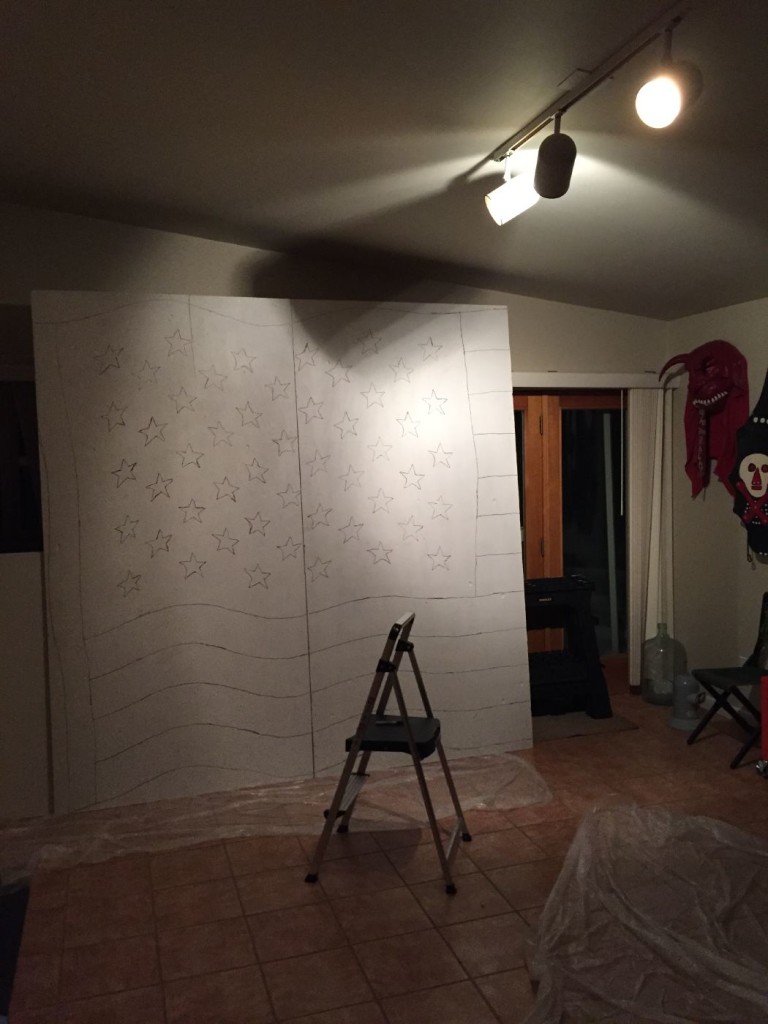
Because the flag was so large, I had to break the source art into two drawings— I didn’t have enough space to line up all four sheets of plywood at once and a single sheet drawing didn’t provide enough detail when projected. I scaled the drawings to the width of the plywood rather than the height, and that’s how I missed the two bottom strips.
The first two panels are sketched out. It took some work to line up the next two so that the remaining stripes would match up cleanly. Even a tiny change of angle in the board or the projector will throw the drawing off. It’s vital to be precise when projecting a large image onto multiple pieces.
Here are panels three and four sketched out.
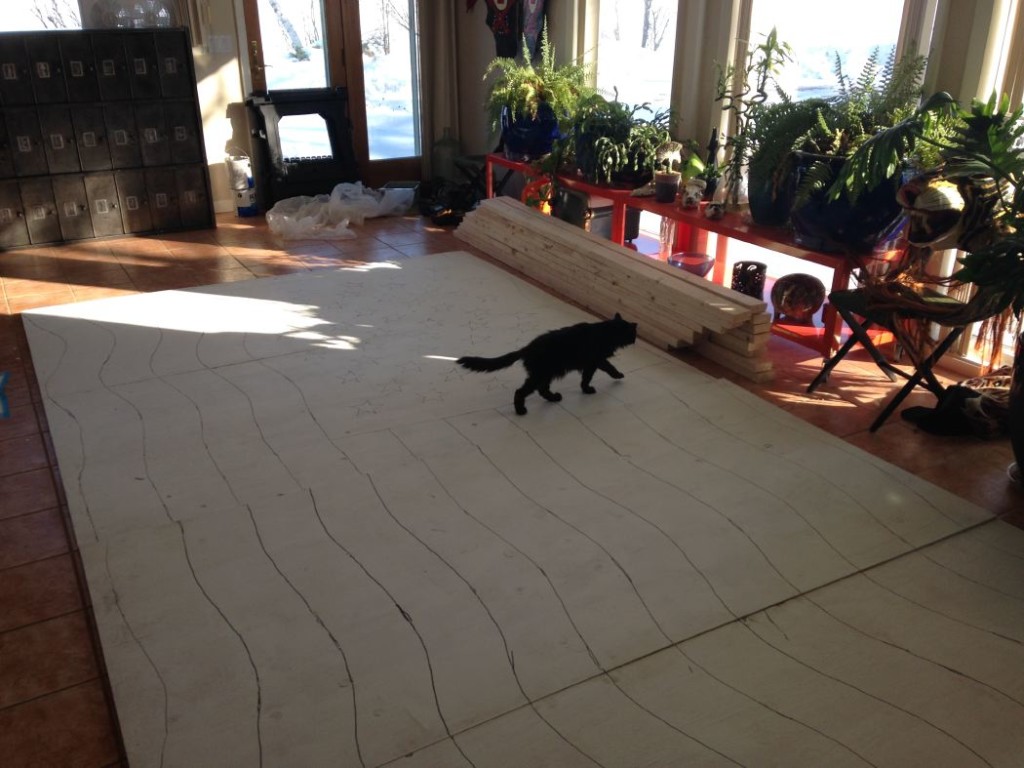
All four panels laid out on the floor to get a sense of the scale of what’s ahead of me. Mojo Cat inspects my work. This is also so I can look at how well the second and third panel mesh up… You can see I’ll need to finesse where the stripes line up a bit.
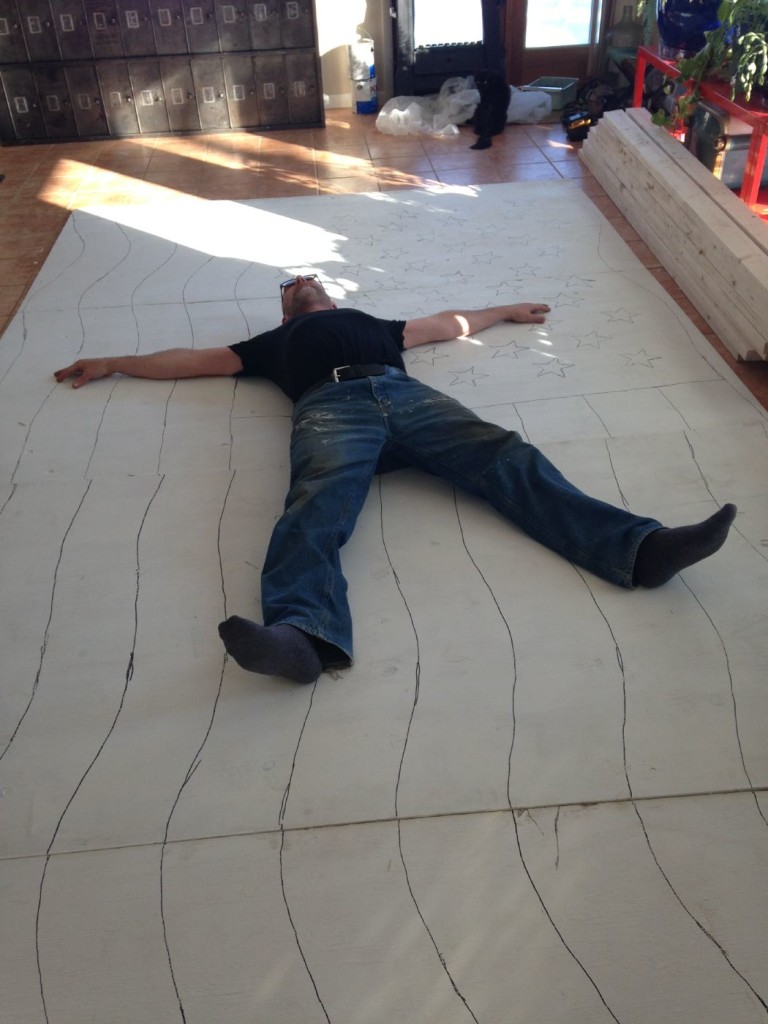
I’m about six feet tall. Even when splayed out on just the two middle panels there’s a lot of white space around me.
Before I can start nailing the bottle caps to the plywood, every single one of them needs to have a hole punched through with a strong nail… I spent days just doing that. I punched about half of each color and left some whole in case I needed to put the holes in a location other than center.
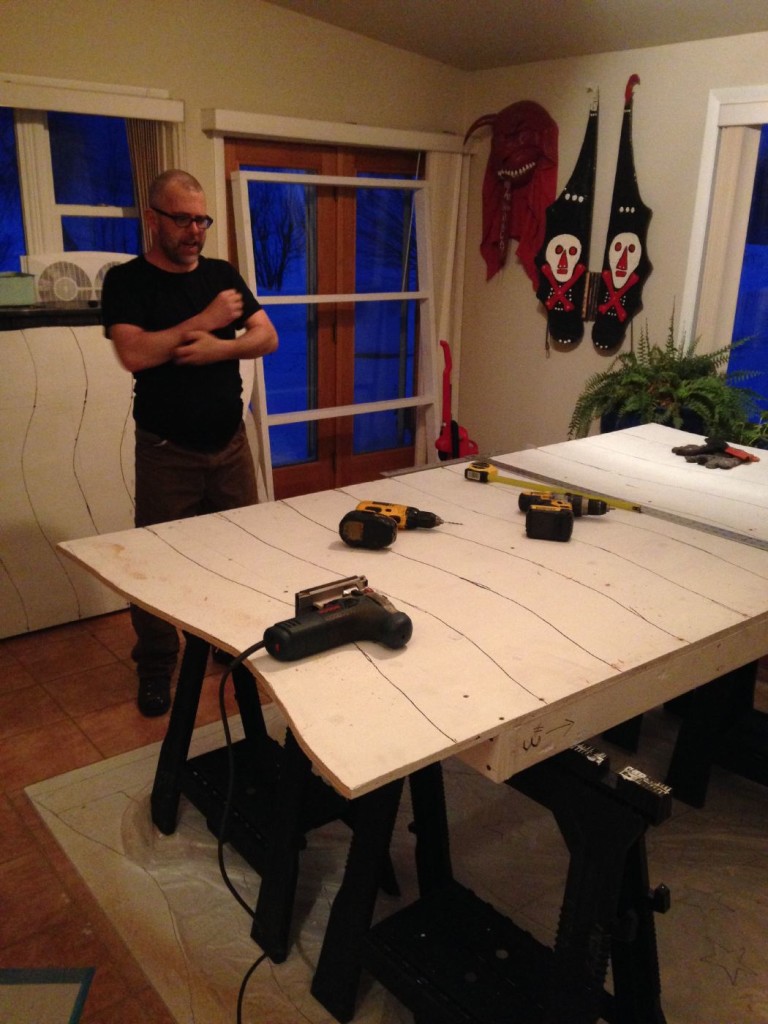
Building the framework to hold the flag together. Because of the wavy edges, I recessed the frame about 12 inches on the top, bottom and the end edges. The frame needs to be built before I can start nailing caps both so that the screws are hidden behind the caps and to lend support when I begin nailing. The flat edges where the panels will meet have the frame flush with the edge so they can be bolted together.
(Side note: I’m not the only one who still hadn’t noticed that two stripes were missing… It looked so large and flag-like it was easy to miss. It would have been easier to fix if I’d caught it before I sawed the bottom edge. Matching that curve was much more difficult than adding to a straight edge.)
Follow the creation of Old Glory from start to finish—
- The Making of Old Glory, Part One: February 12-21
- The Making of Old Glory, Part Two: February 22-28
- The Making of Old Glory, Part Three: March 4-8
- The Making of Old Glory, Part Four: March 9-12
- The Making of Old Glory, Part Five: March 18-21
- The Making of Old Glory, Part Six: March 22-28
- The Making of Old Glory, Part Seven: April 4-17
- The Making of Old Glory, Part Eight: Stagecoach Festival Setup
- The Making of Old Glory, Part Nine: Old Glory on View at Stagecoach Festival
- The Making of Old Glory, Part Ten: The Documentary


